Prototyping the Big Idea
We’re big on experimenting here, so our creatives and engineers get together every month to talk website prototyping. Some of the goals are to explore new techniques, share ideas, experiment, and follow up on all those been-meaning-to's that we’ve steadily gathered over our careers.
We decided tech demos would be a good way of achieving them – small enough to fit around regular work, but coherent enough for real application – and with that, I saw an opportunity to scratch an itch.
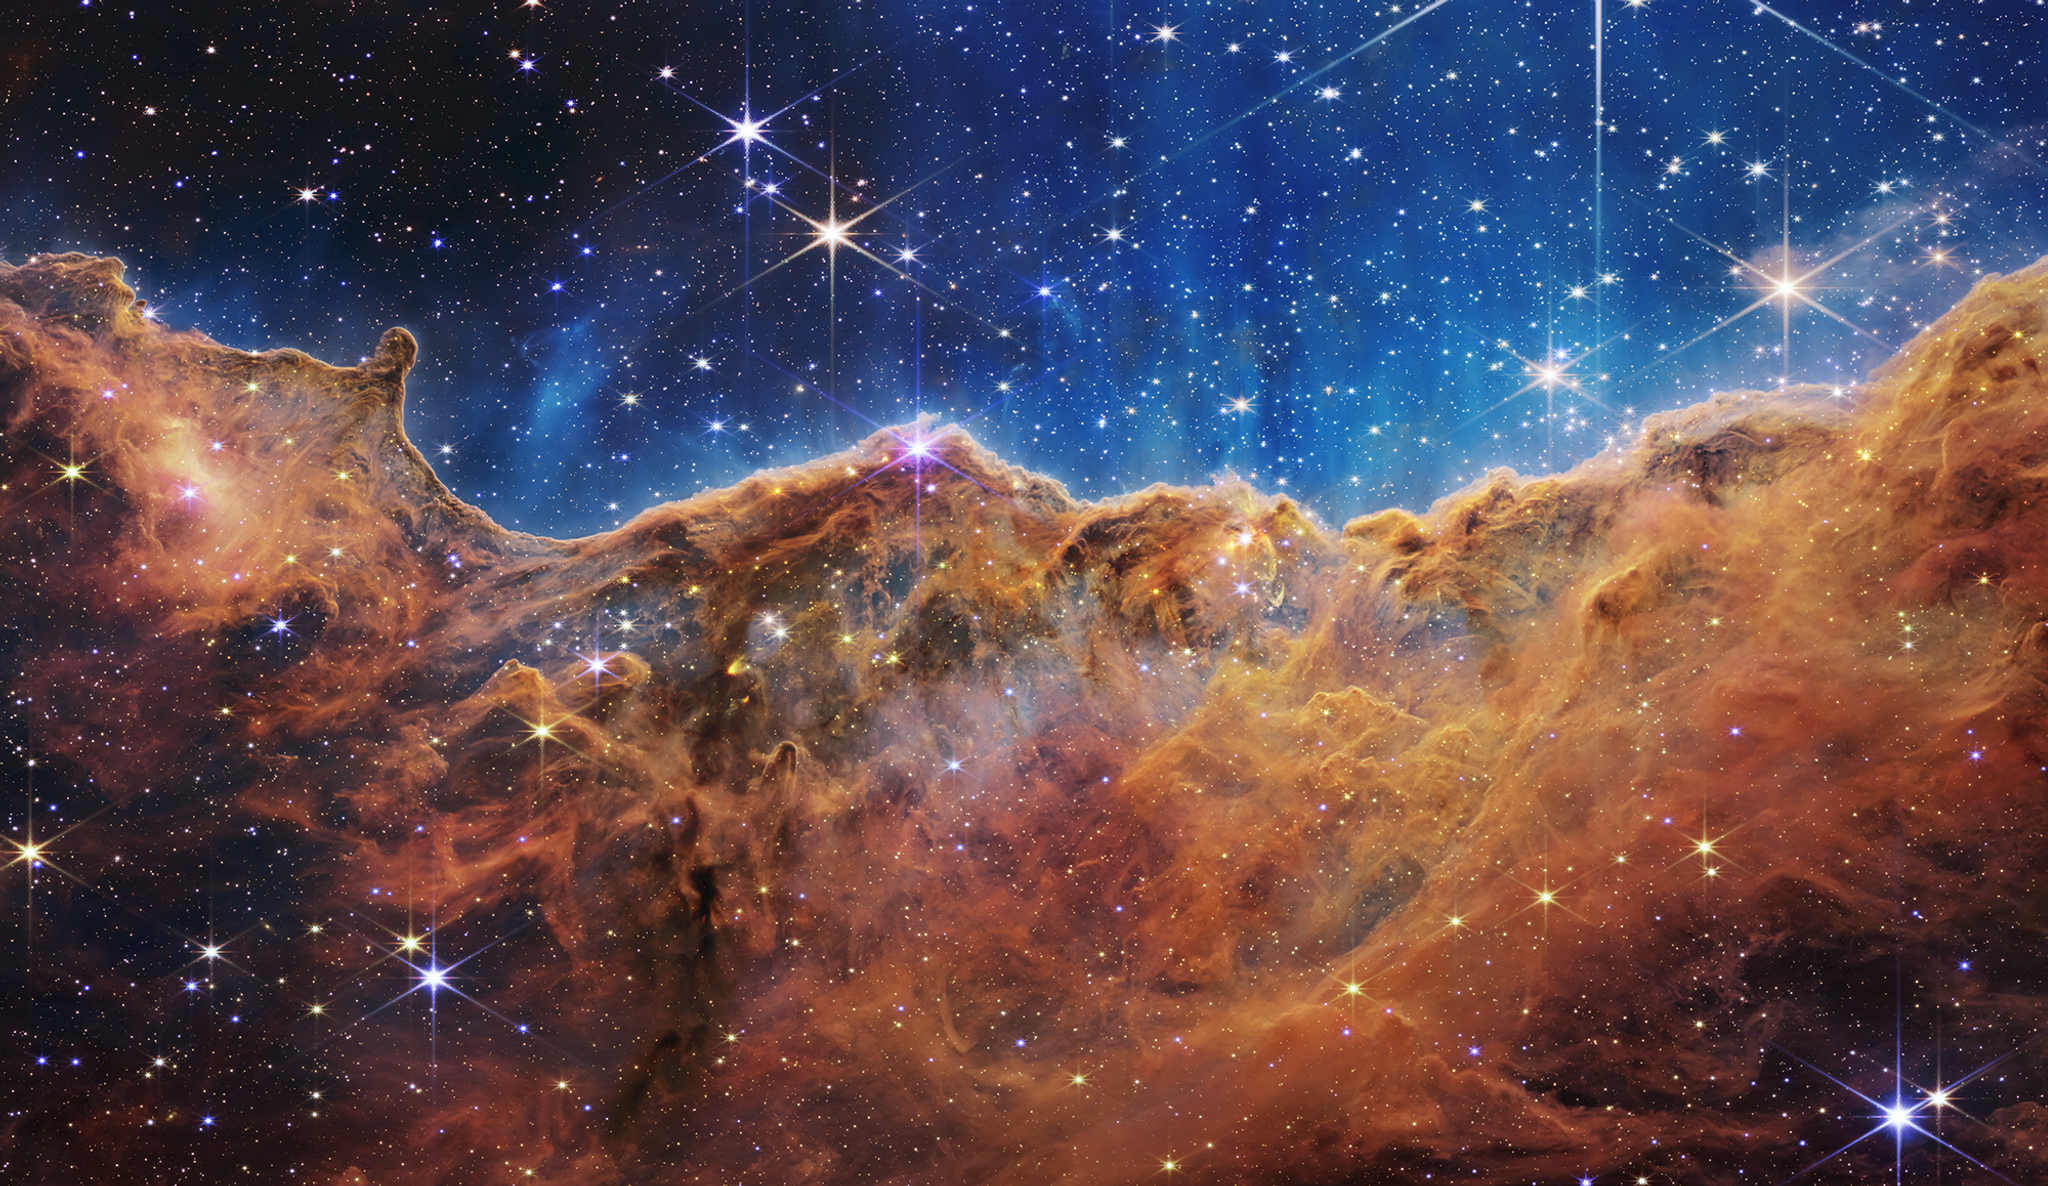
WebGL has been usable in browsers for over a decade now, and in my experience, it's typically the center of attention in a site. But it doesn't need to be that way. I've been on the lookout for a middle ground between the all-or-nothing approach, a way to use it as a website enhancement rather than the foundation. With the first images from the James Webb Telescope that were making waves at the time of our brainstorming, it felt like the ideal subject matter for some exploration.

Just look at those diffraction spikes! (Credits: NASA, ESA, CSA, and STSci)
Diving into the Cosmos
Setting aside the logistical, technical achievement of chucking a telescope into orbit and relaying its sights back to Earth, I was reminded of the old-school computer graphics exercise of journeying through a starfield. So, we decided to make our own.
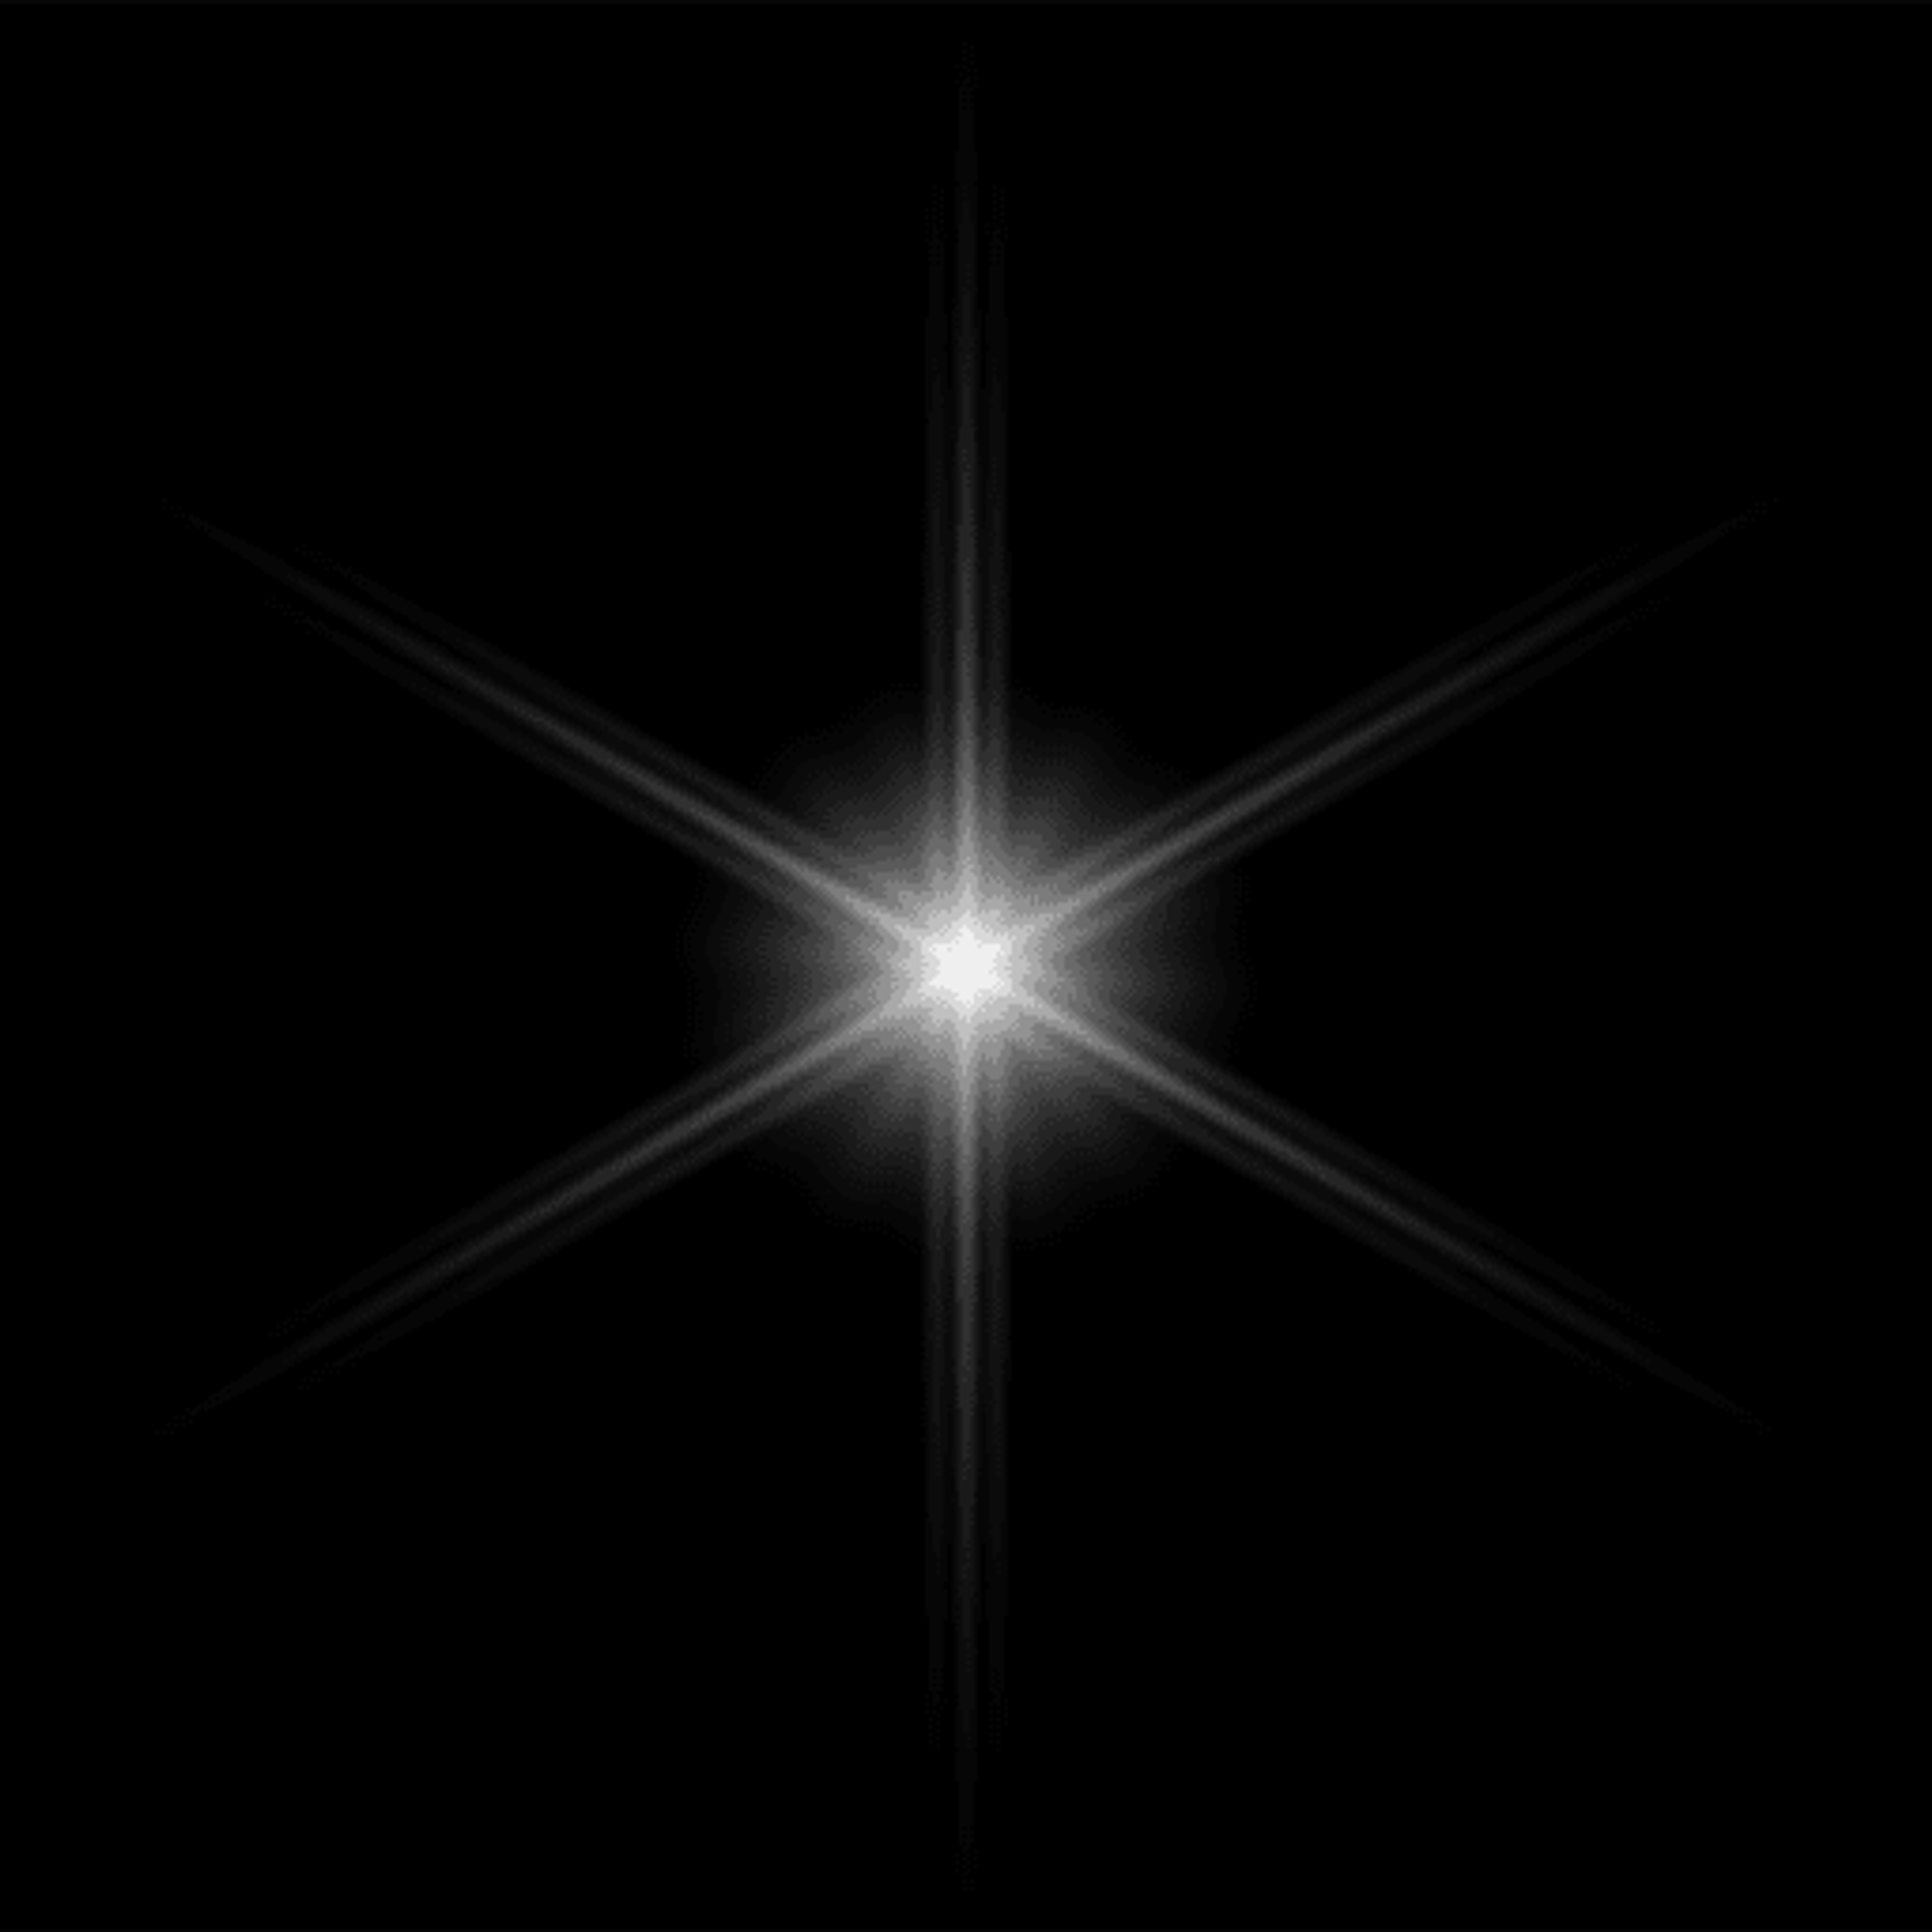
The plan was to set up a 3D scene with the point of view in the dead center and randomly spray a bunch of stars, adding variance in size, color, and intensity. Instead of dots, we’d use this texture image I spent too long making:
Getting in Position
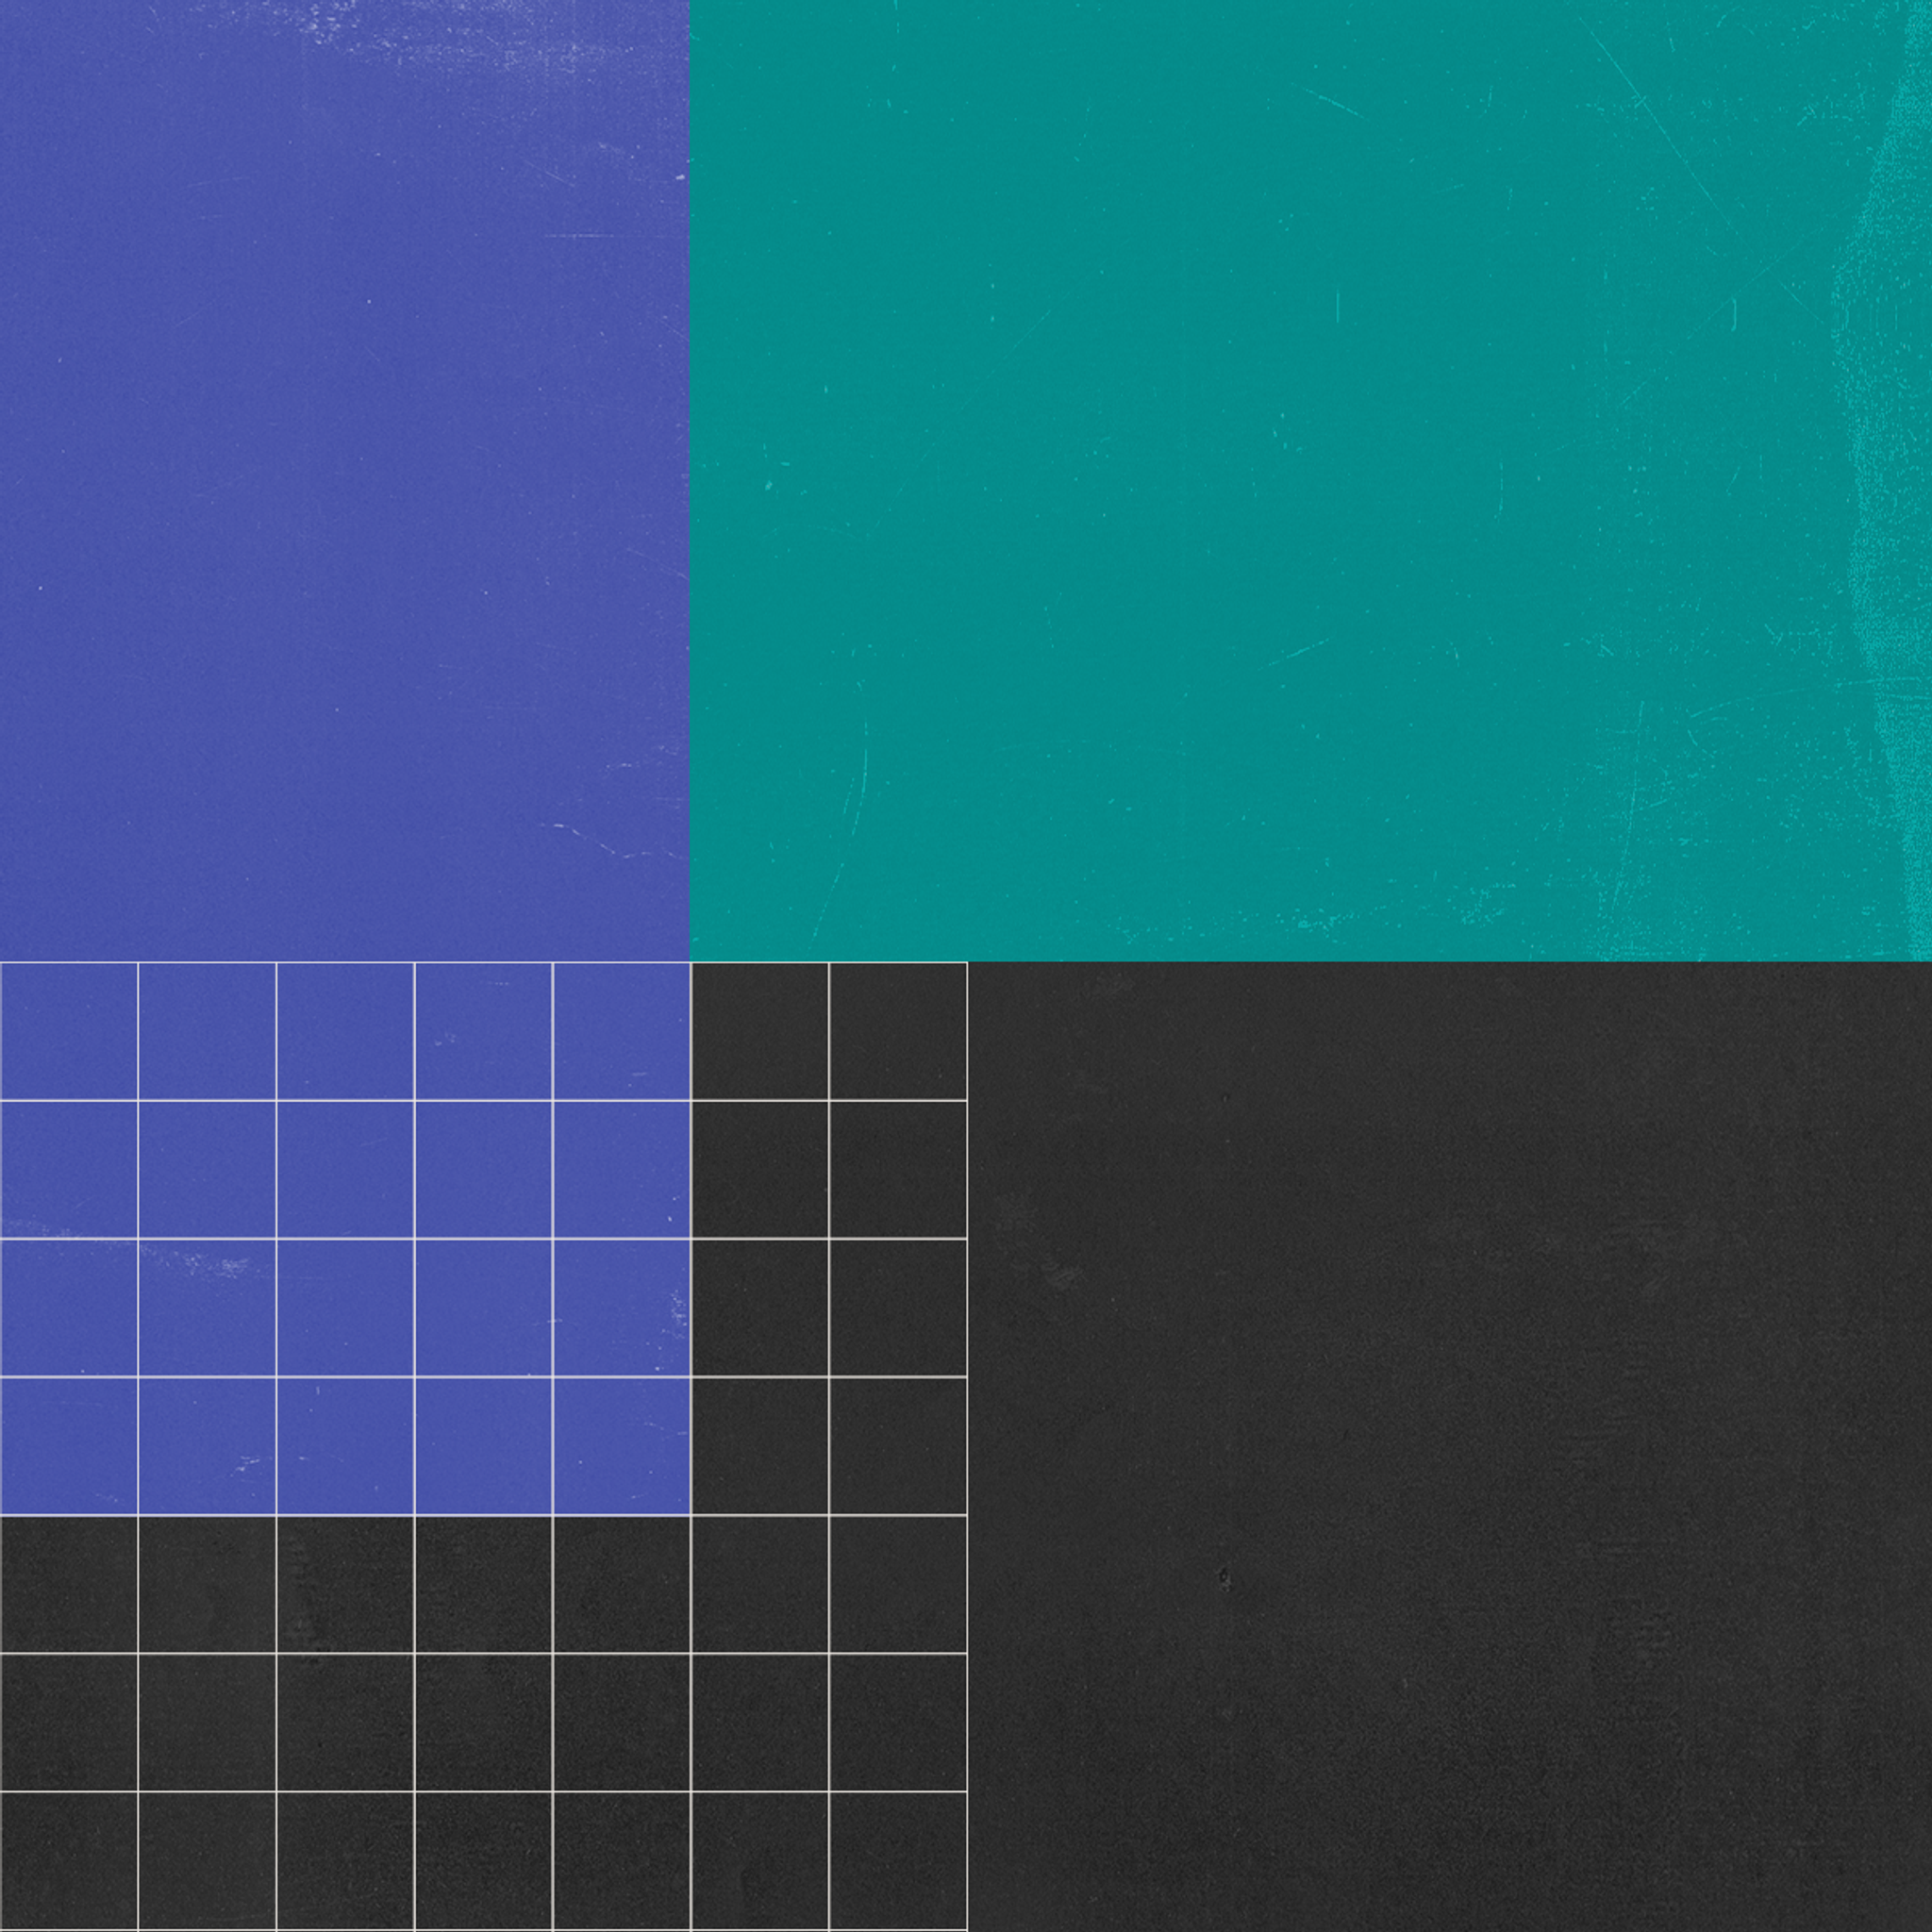
Trying to do everything in one shot with WebGL is a guaranteed way to waste hours cursing a black rectangle. So instead of stars, we decided to start simply with a bunch of squares. 50,000 seemed like a good initial guess – enough to look like a plausible galaxy without turning phones into hand-warmers with 2% battery. After getting Three.js, TypeScript and Parcel all playing together, and setting up a camera, renderer, a scene, a single PlaneGeometry, and an InstancedMesh to clone it en masse, we had a strong start.
There was even an animation loop, not that it was doing much. That was the next order of business.
Because I wasn’t sure what kind of movement I wanted, it was time for some sine waves. I passed the current time to Math.cos() with some multiplications and divisions, assigned it to the camera position, and crossed my fingers.
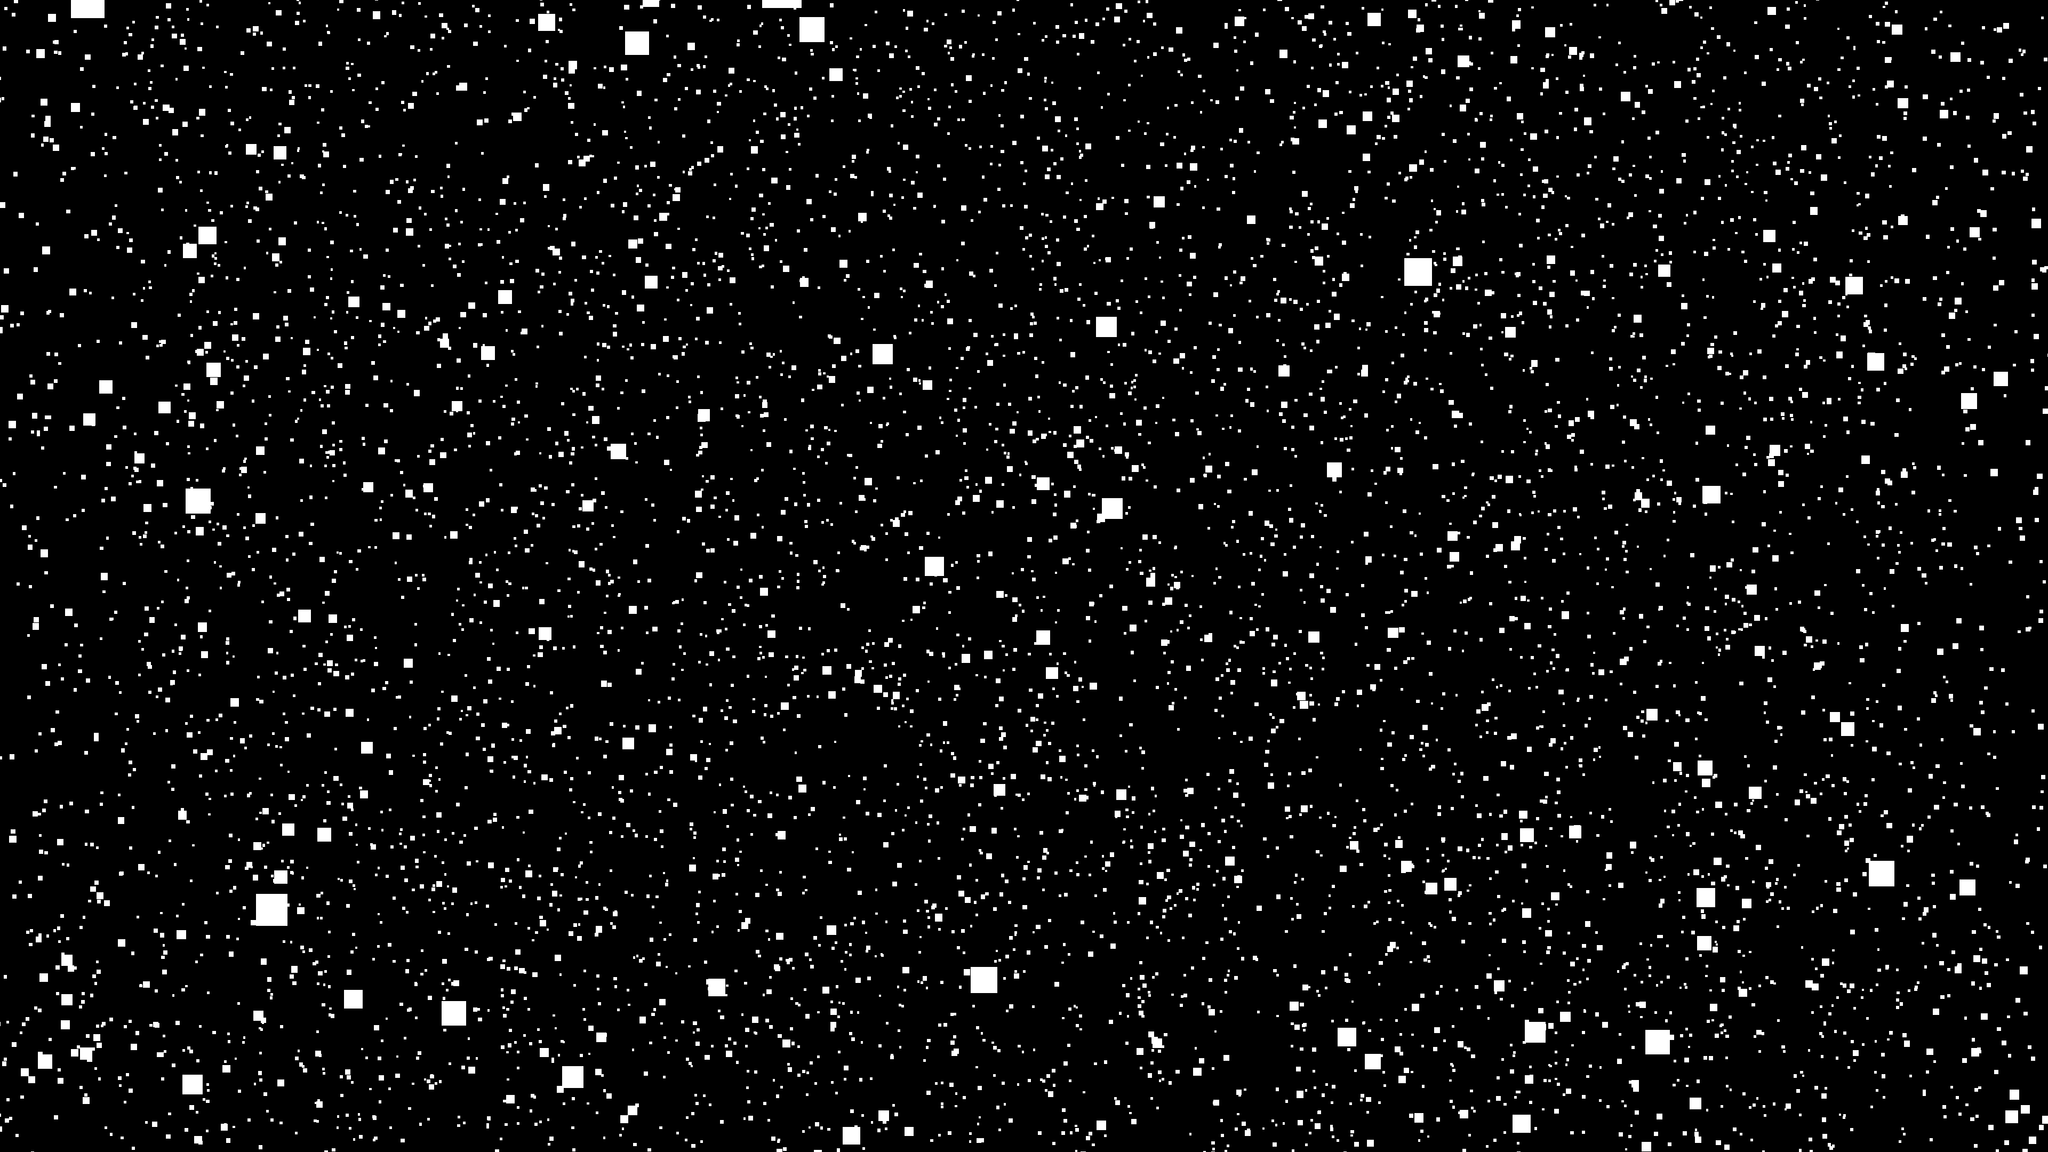
The result was workable. We had some parallax and the occasional big square gliding by, so we kept going. It was time to put that star texture into practice and see how it looked.
Creating the Texture
It was smaller than I’d intended, which meant we could push it a little further in pursuit of capturing the majesty of the cosmos. Cue randomizing the scale.
Still falling short. I could’ve redone the star texture to have some transparency, but what I really wanted was for the brightness of overlapping stars to combine. Better to just turn off transparency and set the blend mode to additive.
Finally, we were getting somewhere. With all the most glaring, work-in-progress-y ugliness solved, we could pass a critical eye over the subtleties. One thing I noticed was that the most distant stars would pop in and out of existence as the camera moved. This was because we used the camera's far plane as an upper limit for the randomized star positions. Some of those were so close that they disappeared the moment the camera pulled back. Also, the camera was colliding with too many stars, so it'd be nice to clear out a void in the middle of the scene.
Both these things could be remedied by thinking in terms of spheres. Generating points by independently setting x, y and z would randomly fill a cube – what we wanted was to generate random points within a sphere. This was one of those things that was easy to intuit, but surprisingly fraught with caveats. It turned out the simplest way to achieve this was Rejection Sampling, which for our purposes is a fancy name for generating random points and throwing away the ones we didn’t like.
There are better algorithms for this, but I’d need more sleep if I was going to convert math notation into code. The simple version was fine for a prototype like this.
Adding the Color
What color are stars? You could approach this as artistically or as scientifically as you’d like, but we felt like starting somewhat grounded in reality.
According to the European Space Agency: Astronomers consider stars to be approximate black bodies that are capable of absorbing light at every wavelength without any reflection. For example, the hottest among stars, with surface temperatures of 10,000ºK or more, will emit most of their radiation at ultraviolet (UV) wavelengths.
In simpler terms, the color of stars is mostly affected by their temperature. This is the same phenomenon as the heating elements in ovens and the basis of the term “color temperature” in photography. Light produced from heat. We have the data for this, or at least, Max Planck came up with a few formulae in 1900, and everyone else has been trying to convert them into RGB color charts since. The one on Wikipedia would’ve been perfect had I found it first, but I didn’t. Instead, my first find was this colorful data file, which I turned into a PNG.
The result was a one-pixel tall image file. When stretched vertically, it looked like this:

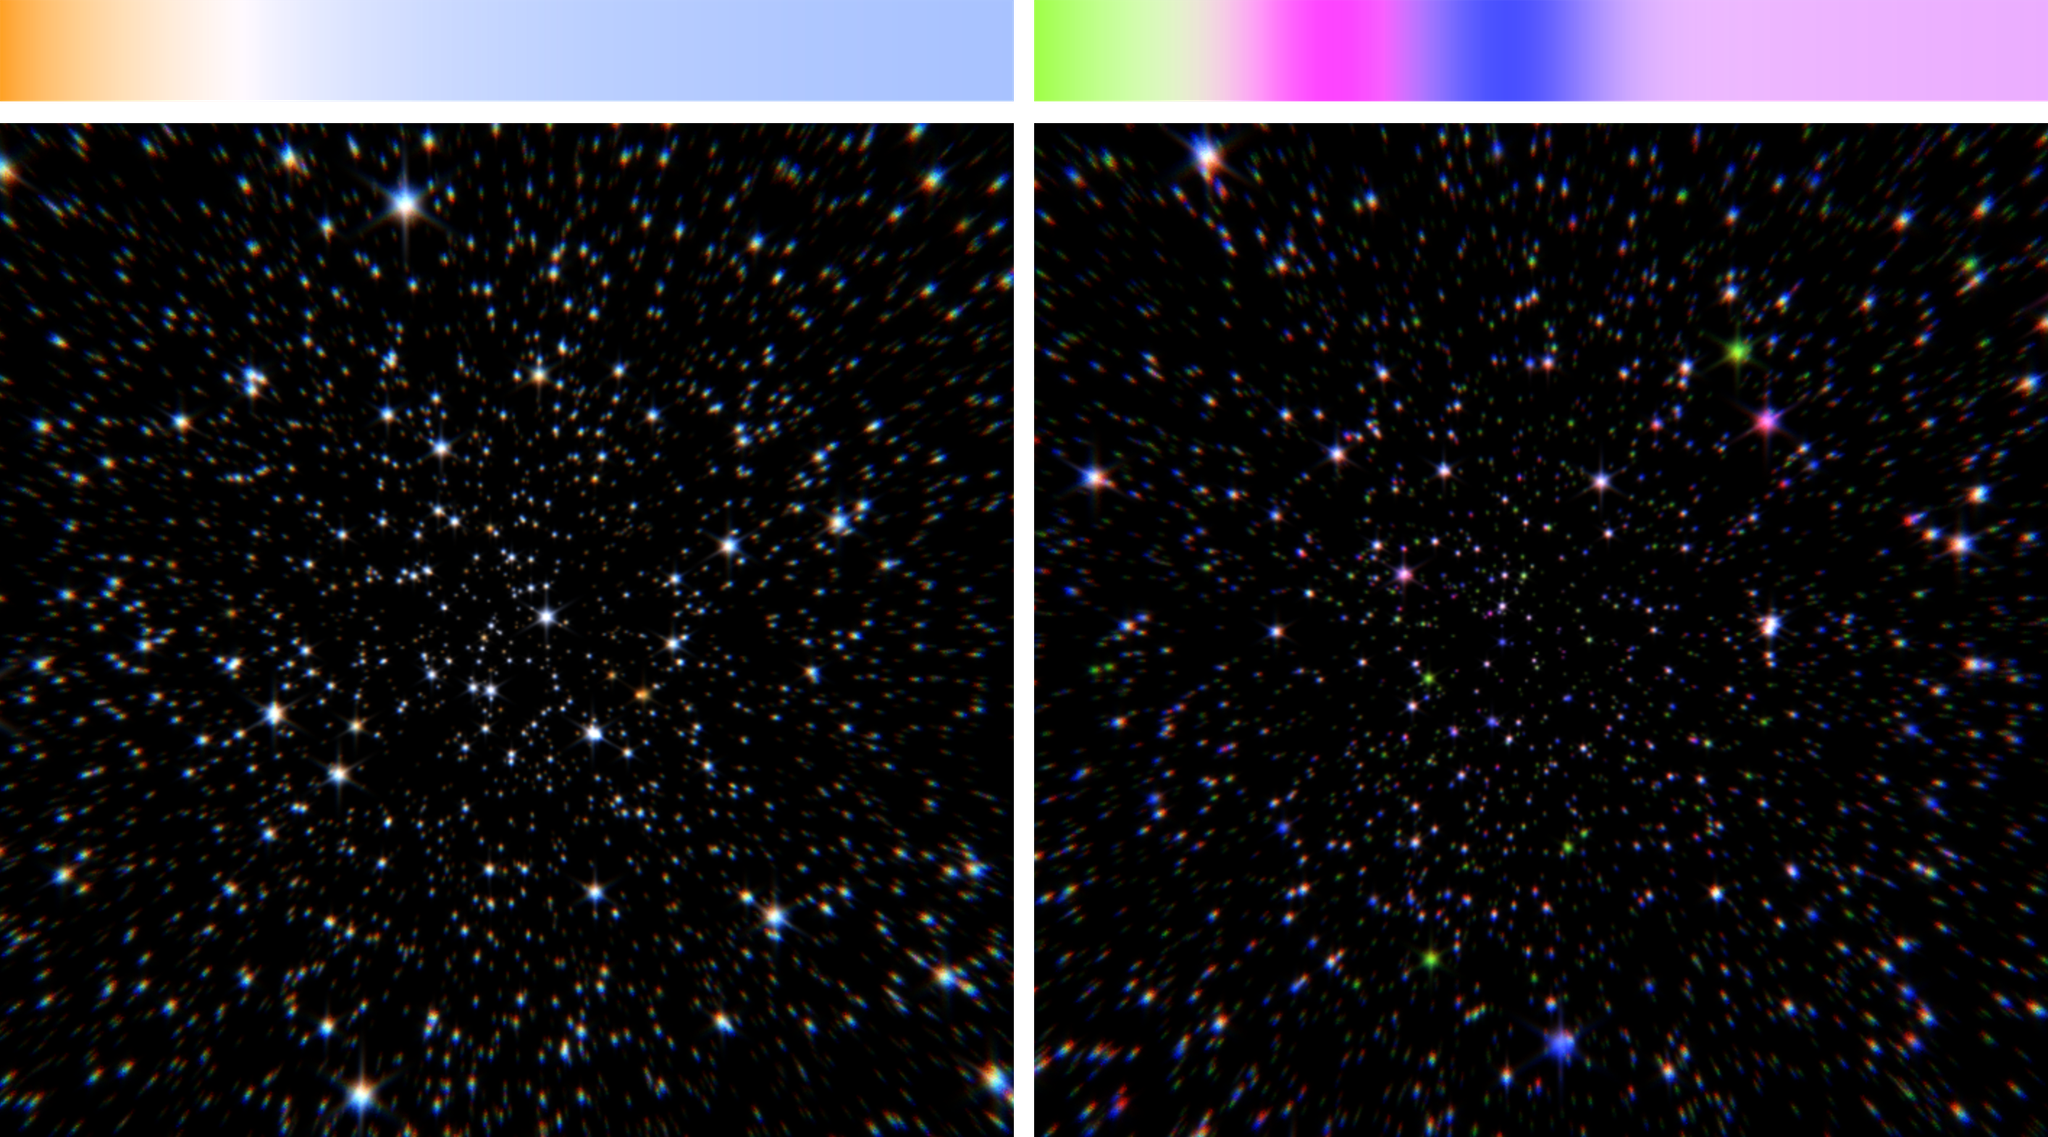
We loaded this image and assigned it as a texture to the star shader, and with some teeth gritting and hacking through three.js's internals, had it source colors from randomly chosen horizontal points, giving us this:
While I was there, I added a parameter for overdriving the brightness of the star texture. This was just another random number multiplied with the star’s color – if it was over 1, it would blow out the brighter parts of the texture to pure white, while maintaining the hue in the midtones:
With the color palette in the form of an image, it could then be art directed. Our initial inspiration was from the real world, but we could’ve also just bust out the gradient tool and done whatever!
I could’ve noodled on this forever, but there was something else I wanted to noodle on – a post process (or filter). We had our 3D scene being flattened by the GPU to a 2D image 60 times a second, and I wanted to do… stuff… to that image.
What kind of stuff? Chromatic aberration and radial blur. This was meant to be a celebration of humanity's achievements in optical science and engineering, and here I was proposing we simulate bad lenses from 50 years ago, but we gave it a shot.
Setting the Blur
We knew one common way to blur images was with a Convolution Kernel, which is a macguffin that can achieve a variety of image effects. The idea is that for each pixel, it grabs a bunch of others surrounding it, adds some factor of their color values together, and repeats until done. Depending on exactly how you define “bunch of others” and “some factor,” you can affect the size and shape of the blur, simulating photographic depth of field, fast motion, or comedy. I’ll admit I’ve never found a great way to describe these things in words, so I made an interactive demo. You can find it over here.
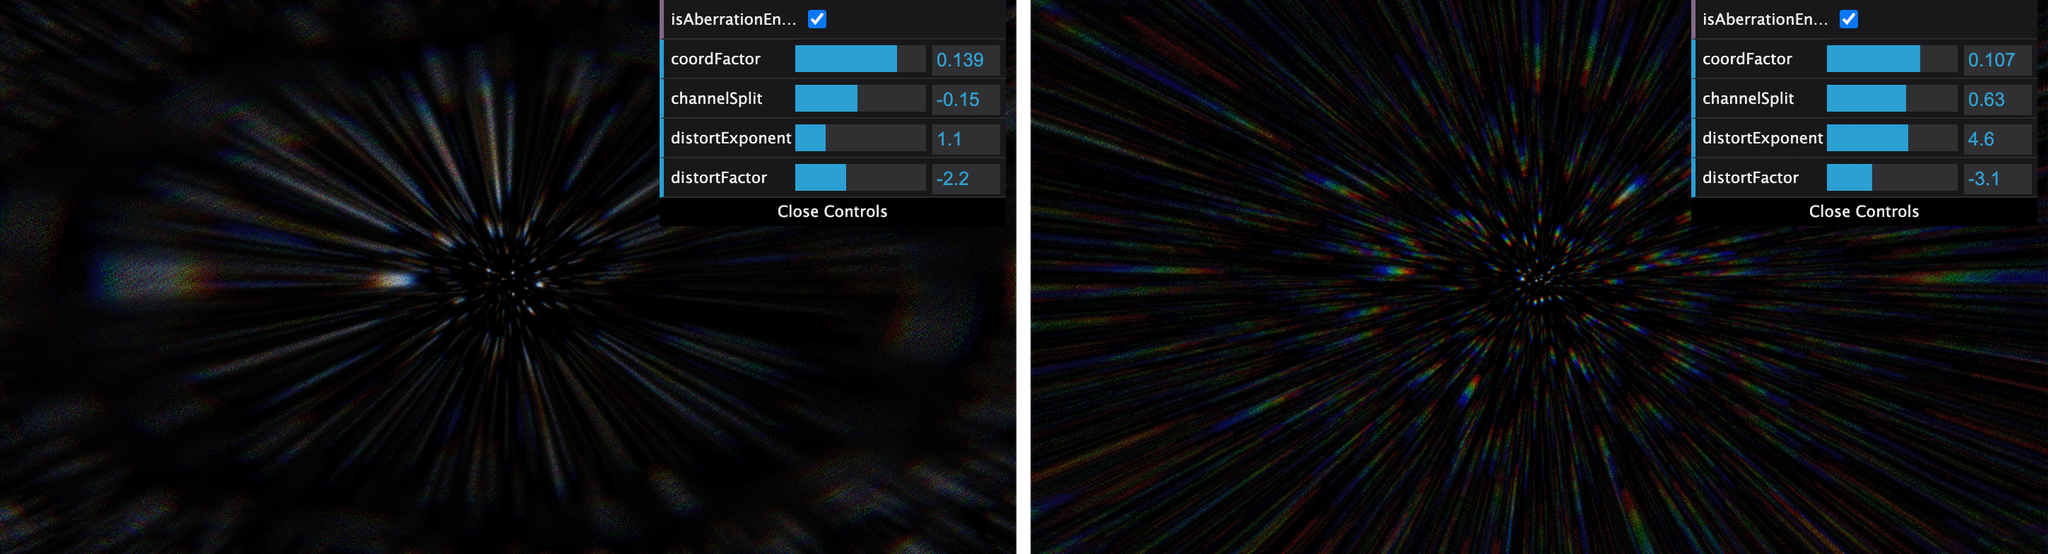
We applied a zoom blur, where each pixel was a sum of a few other pixels on an imaginary line between it and the center of the picture. The colorful prism effect was done by sampling the red, green, and blue values from slightly different positions along that imaginary line. It made me want to rub my eyes, so it was a success.
The real fun was adding dev-mode UI that changed the shader parameters. Like every other WebGL dabbler, I used dat.gui to build a spartan but functional dev-mode UI in no time.
Launching into Space
So, that was our starfield. I could’ve thrown in a nebula or two, but the code was reaching that critical prototype-y mess, and taking it further would warrant a refactor. We’d covered a lot of ground and found a lot of depth in something that, on the surface, seemed fairly simple at first. We’d also thrown a lot of effects into the mix for others with more refined taste to pick apart and consider in our next get together.
If you take a look at the final stopping point, I did shift gears by overlaying filler text with an animated displacement filter. It was a unique excuse to mess with SVG filters, but that’s a story for another time.